Introduction
Recently I came across the concept of Luminosity Masks and using them to blend multiple exposures via a tutorial “The Basics Of Luminosity Masks In Digital Blending” by the travel photographer Jimmy McIntyre. The tutorial also includes a link Jimmy’s Photoshop action set for creating luminosity masks.
After a number of failed attempts in trying to both understand and utilise luminosity masks I decided to go back to basics by using what I perceived to be a very simple image.
I am by by no means an expert with luminosity masks, but thought it might be a good idea to document my progress so far. There are a number of excellent tutorials available, which I have referenced at the bottom of this post.
Images
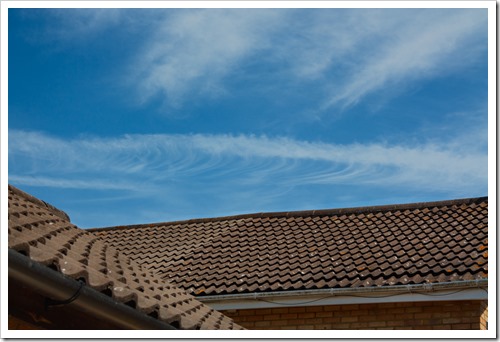
4 photos of some rooftops and the sky, with each one at a different exposure (-1, 0, +1, +2)
Photoshop
- Load the images into Photoshop as layers ordered as 0, –1, +1, +2, and turn off the layer visibility for –1, +1 and +2.
- Now create the luminosity masks by running the Luminosity Masks from Jimmy McIntyre’s “Easy Panel”. If you look at the Channels panel you will see 18 additional channels: Brights 1 – Brights 6, Darks 1 – Darks 6, and Midtones 1 – Midtones 6
- First lets work on the lower part of the image, the rooftops and the walls. This needs to be brightened so duplicate the +1 layer and add an inverted mask.
- Now we need to choose an appropriate luminosity mask to use. For the rooftops we are interested in one of the Darks, as we don’t want the sky brightened. Go to the Channels panel and click on the thumbnail of one of the Darks channels’.
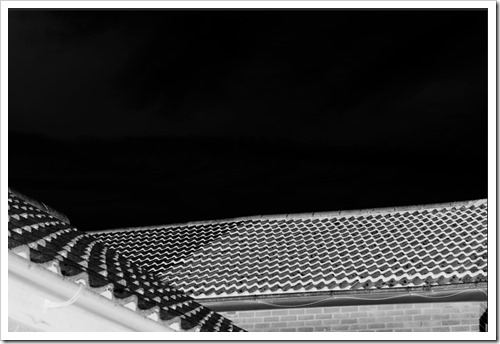
- Once you have decided upon the channel to use (I am used Darks 3) hold the Ctril key and click on the thumbnail. Marching ants will now appear around the selection (the white areas, these being the dark tones, in this case elements of the rooftop and not the sky). Click on the RGB thumbnail to bring back the colour and also see the marching ants more clearly.
- Go to the layers panel, select the inverted mask of the duplicated +1 exposure layer (see step 3), select a feathered brush with white foreground and 100% opacity, and paint over the rooftops and walls to reveal the bright areas from the duplicated +1 exposure layer (you can hide the marching ants if they are distracting by pressing Ctrl + H). See the before and after below:
- Now repeat steps 3 – 6 for each combination of area and level of exposure you want to blend in. For example I used multiple copies of the –1 layer with various luminosity masks, both Darks and Brights, to not only darken the sky but to bring out the detail in the clouds.
- The problem is that the image still looks a bit flat, but we can also use the luminosity masks to adjust the contrast.
- Go to the Channels panel and Ctrl + Click on the Midtones 3 thumbnail, then go to the Adjustments panel and create a Curves Adjustment Layer. At the same time a layer mask will be created based on the selected Midtones 3 luminosity mask from the Channels panel
- Adjust the Curve to taste.
- Repeat steps 9 – 10 for any other areas were you want to adjust the contrast.
Final Image
Further Tutorials
- Various tutorials by Jimmy McIntyre
- Luminosity Masks Workflow Tutorial for Landscape Photography by Andre Distel
- Why Luminosity Masks Are Awesome – Part 1 by Hougaard Malan
- Why Luminosity Masks Are Awesome – Part 2 by Hougaard Malan
- Luminosity Masks by Tony Kuyper
- Boosting Contrast And Color With The Luminosity Mask In Photoshop by Steve Patterson


